Kitchen Splashbacks
Whether you're looking to replace your existing kitchen splashback with something a little fresher using acrylic splashback sheets or you're wanting to add more functionality to your kitchen with cooker splashbacks and kitchen tiles, we'll have the perfect solution.
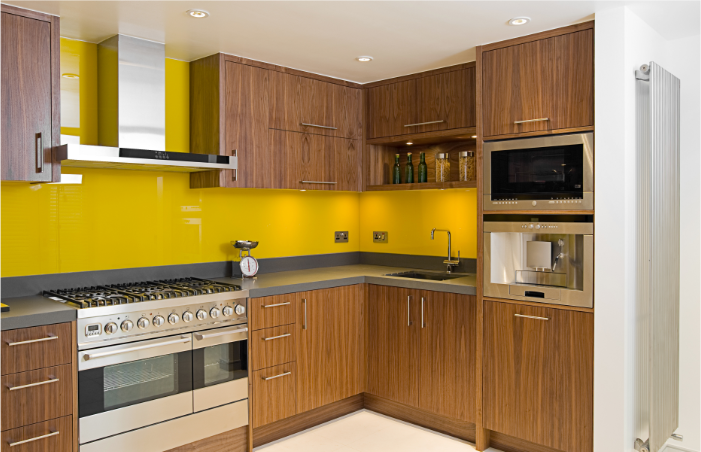
Acrylic splashbacks not only provide a modern touch to your kitchen, but they're extremely practical, too. They are easy to install and simple to clean and maintain. We offer a full bespoke design and cutting service on all our splashback panels to give an amazing and professional finish.
We can also cut to almost any shape or size, cutting out space for wall sockets or power cables and our full range of thicknesses and colours are available, although 5mm thickness is what is used in most cases.
If you're not sure on how to choose the right kitchen splashback panels for you, here's a complete guide:
The benefits of using a kitchen splashback
Advantages of using acrylic splashbacks over traditional materials
Choosing the right acrylic splashback for your kitchen
How to measure for an acrylic kitchen splashback
1. What are the benefits of using kitchen splashbacks?
We all know that kitchens can get very messy, very quickly, and can be quite difficult to keep on top of. A fresh lick of paint is no match for water and food splashes on walls behind worktops, hobs and sinks which can leave stains that are difficult to remove.
Kitchen splashback sheeting can be applied as an easily cleanable hygienic guard protecting your walls from food, water and general grease.
At Sheet Plastics we offer over 30 different colours and effects that you can choose from.
As well as being easily installed and making your walls stain-resistant, adding acrylic splashbacks to your kitchen can be an extremely cost-effective method of adding a fresh and modern style to the room.
2. What are the advantages of using acrylic splashbacks over traditional glass splashbacks and kitchen tiles?
Before becoming a stylish staple in many modern kitchens, kitchen splashbacks were often made using glass or tiles for their functionality and water resistance. Whilst they are still frequently used in kitchen design, acrylic sheets have become a more versatile and durable kitchen splashback alternative.
Here's a list outlining some of the many benefits of using acrylic splashbacks for kitchens:
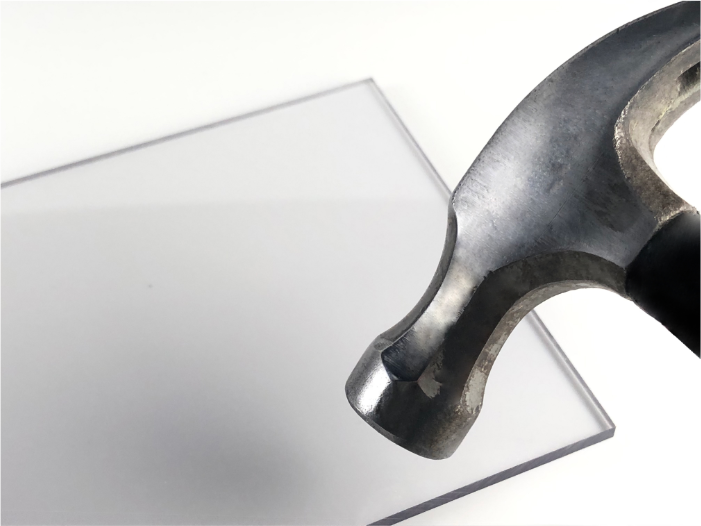
- Impact resistance - Shatterproof acrylic sheeting is a safer & more hard wearing material than glass. In fact, our acrylic splashback sheets are 17x stronger than glass with a much higher impact resistance.
- Recycling - All of our plastic splashbacks can be recycled.
- Colour - All of our coloured splashbacks are UV stabilised ensuring their colour won't deteriorate under excessive sunlight exposure.
- Lightweight - Acrylic sheets can weigh up to 50% less than a piece of glass of an equivalent size.
- Easy to clean - The smooth surfaces of acrylic are easily cleaned using just a cloth and warm soapy water making it a hygienic fit for kitchen panels.
- Easily fabricated - We offer a bespoke cutting service but if you'd rather do it yourself, not a problem! Acrylic can be cut and sized using common toolbox equipment.
- Order pre cut - Do you need your splashbacks cut to size? We can cut to any shape or size including cutting out space for wall sockets or power cables so your new kitchen splashback panel can be applied in minutes.
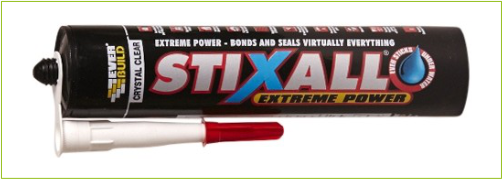
- Easy & quick installation - Simply use grab adhesive or screws o apply to your kitchen wall.
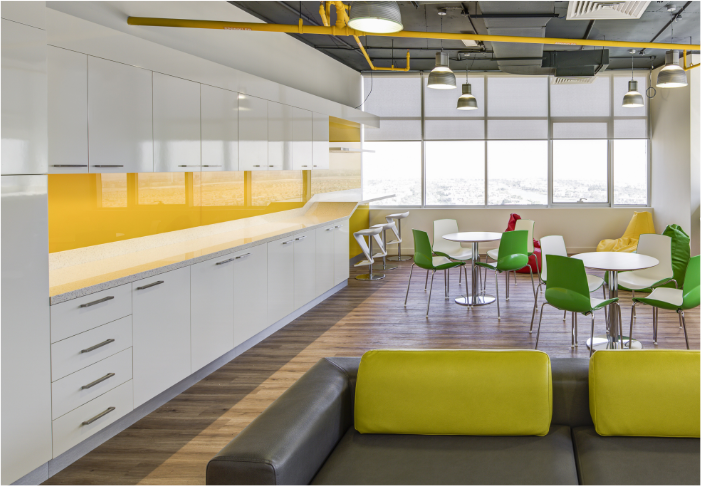
- High gloss finish - Create a contemporary finish with our eye-catching high gloss acrylic. For those who prefer a mat finish, we also offer frosted acrylic sheet.
3. Choosing the right acrylic splashback for your kitchen
First things first, you need to identify which areas of your kitchen need to be protected by splash panels.
Sink Splashbacks
One of the most common places splash guards are found in kitchens is directly behind the sink. Sink splashbacks are not only a great replacement for standard kitchen tiles, but they can also serve as a protector for existing tiling.
We recommend a splash of colour to compliment a metallic sink or clear acrylic to protect your tiles.
Kitchen Surface Splashbacks
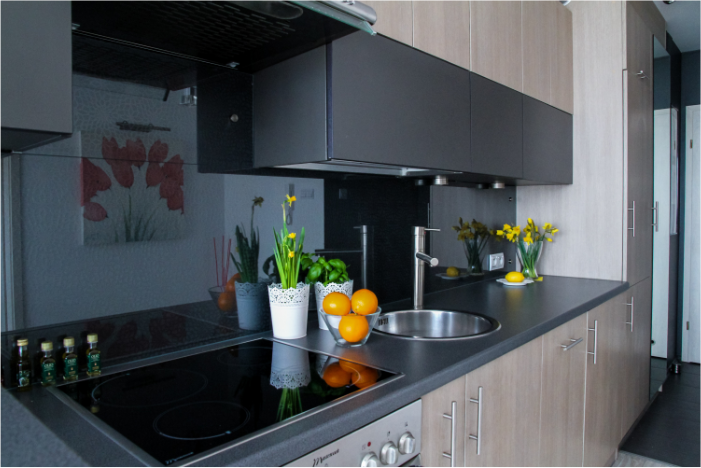
Food and drinks are prepared on kitchen surfaces making the walls around them a target for all kinds of splashes. Stylish acrylic kitchen backboards can be a hygienic kitchen assistant when it comes to keeping things clean.
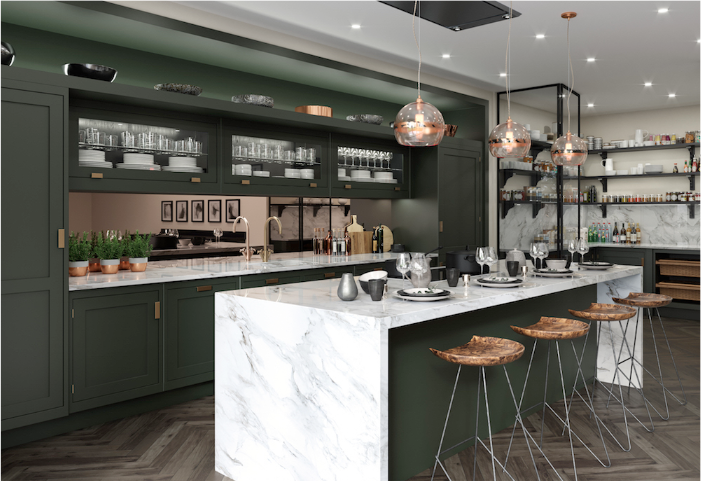 Credit: Mark Wilkinson Furniture
Why not choose a mirrored splashback for your kitchen surface to brighten up the room and make a small space feel larger.
Cooker Splashbacks
Due to it's fire rating, we would recommend using aluminium composite behind your hob or cooker. Available in many of the same colours as our acrylic splashbacks, aluminium composite splashbacks offer a great finish with fantastic heat resistance. This makes them both safe and practical splashbacks for cookers.
If you have an electric hob, aluminium composite offers more than enough heat resistance to make it a great hob splashback.
4. How to measure your kitchen for an acrylic splashback
Once you have decided which areas of your kitchen you want to add splash panels to, you should draw out the area on a piece of paper with all measurements including any parts that will require cut outs such as sockets, wall units or cooker isolators.
If you are fitting your acrylic splashback to a surface between your worktop and a cupboard it is recommended to leave a 1mm gap at the top and bottom to ensure the panel fits but also ensures minimal movement.
Also, be sure to check that all worktop surfaces and cupboards are level. These small gaps can be filled in later with sealant as you will want to prevent moisture from running down the walls and behind the splashback from the top.
When it comes to sockets and switches, a gap between 3mm to 5mm is best left around the socket face. Sealant can then be applied around the inside of the gap to seal the socket and the edge of the acrylic.
Now you have your custom splashback measurements, simply get in touch with Sheet Plastics’ team of experts to order your acrylic and discuss how we can create your splashback cut to size to your exact specification. Alternatively, you can attempt to cut the materials yourself once delivered.
5. How to fit your new kitchen splashback
When you've finished cutting your acrylic splashback or your custom cut sheet has been delivered, it's time to apply it to the wall.
Simply peel back any protective plastic from the back of the acrylic, apply your chosen adhesive and carefully position your splashback sheet into place. It's important to make sure all surfaces are dry first.
We recommend using some tile packers to prop the splashback up while it sets in case you decide to change your kitchen worktops in the future.
Make sure to wipe away any excess adhesive that is spilling out from the sides of the acrylic sheet and then leave to set for 24 hours.
All done! Your DIY splashback project is as simple and easy as that!
6. How to clean plastic splashbacks
Now you've fit your acrylic kitchen splashback, you'll want to keep it nice and clean. Washing acrylic is easy. Just soak a non-abrasive cloth in warm soapy water and wipe down the surfaces.


